
Sourdough bread, with its distinctive tangy flavor and chewy texture, has captivated bakers and bread enthusiasts for centuries. This ancient form of bread-making predates commercial yeast, relying instead on wild yeast and lactic acid bacteria present in the environment. The process of creating sourdough is not merely a culinary endeavor; it is a fascinating interplay of science and art, where time, temperature, and ingredients converge to produce a loaf that is both nourishing and delicious.
The unique fermentation process not only enhances the flavor but also contributes to the bread’s nutritional profile, making it easier to digest and potentially more beneficial than its commercially yeasted counterparts. The allure of sourdough extends beyond its taste; it embodies a sense of tradition and craftsmanship. Each loaf tells a story, reflecting the baker’s environment, techniques, and even the specific strains of yeast and bacteria that thrive in their locale.
As more people seek to reconnect with their food sources and embrace artisanal methods, sourdough has experienced a resurgence in popularity. Home bakers are increasingly drawn to the challenge of nurturing a sourdough starter, mastering the fermentation process, and ultimately creating a loaf that is uniquely their own. This article will guide you through the essential steps of making sourdough sandwich bread, from understanding the ingredients to perfecting the baking process.
Key Takeaways
- Sourdough bread is a type of bread made from naturally fermented dough, resulting in a tangy flavor and chewy texture.
- The key ingredients for making sourdough bread include flour, water, and salt, along with a sourdough starter and basic kitchen equipment such as a mixing bowl, measuring cups, and a Dutch oven.
- Creating a sourdough starter involves mixing flour and water and allowing it to ferment over several days, feeding it regularly to develop the natural yeast and bacteria needed for leavening the bread.
- Mixing and kneading the dough is an important step in developing the gluten and structure of the bread, which can be done by hand or with a stand mixer.
- After shaping the dough, it needs to be proofed, or allowed to rise, before being baked in a preheated oven to achieve a crispy crust and soft interior.
Ingredients and Equipment Needed
To embark on your sourdough journey, it is crucial to gather the right ingredients and equipment. The primary components of sourdough bread include flour, water, salt, and a sourdough starter. While these may seem simple, the choice of flour can significantly impact the final product.
Bread flour, with its higher protein content, is often preferred for its ability to develop gluten, which provides structure and chewiness. Whole wheat flour can also be incorporated for added flavor and nutrition, as it contains more nutrients than refined flour. Additionally, some bakers experiment with alternative flours like rye or spelt to introduce unique flavors and textures.
Water quality is another vital consideration; using filtered or bottled water can help avoid any chlorine or impurities that might inhibit yeast activity. Salt plays a crucial role in flavor enhancement and controlling fermentation speed. It is essential to use non-iodized salt, such as sea salt or kosher salt, as iodine can interfere with yeast function.
Beyond these ingredients, having the right equipment is equally important. A digital kitchen scale ensures accurate measurements, while mixing bowls of various sizes facilitate different stages of the process. A bench scraper aids in handling dough, and a proofing basket helps shape the loaf during its final rise.
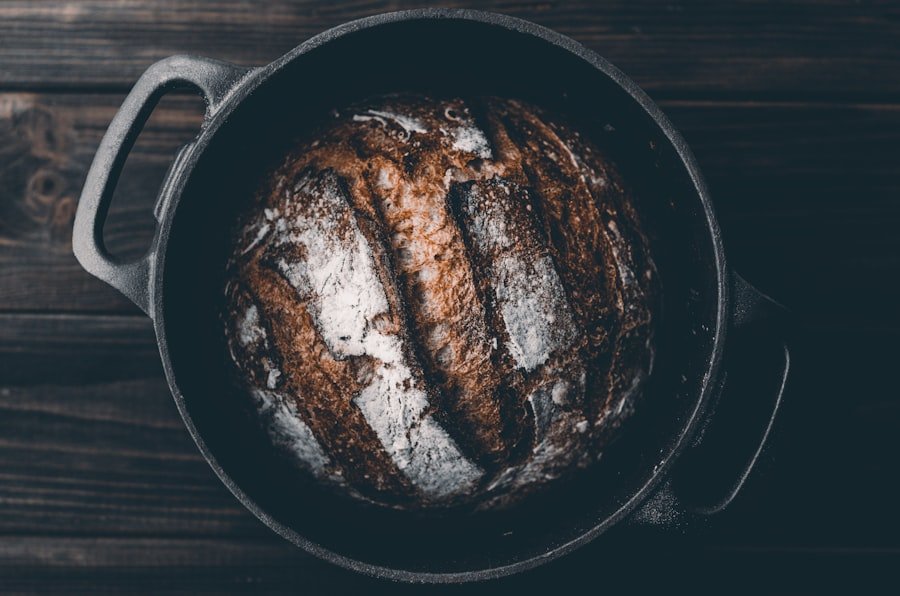
Finally, a Dutch oven or baking stone is ideal for creating a steamy environment during baking, which is essential for achieving that coveted crust.
Making the Sourdough Starter

Creating a sourdough starter is the first step in your sourdough adventure. This living culture of flour and water captures wild yeast and bacteria from your environment, allowing you to cultivate your own unique leavening agent. The process begins with equal parts flour and water mixed together in a clean container.
Many bakers prefer using whole grain flours like whole wheat or rye for the initial feedings because they contain more nutrients that encourage microbial growth. After mixing, cover the container loosely with a cloth or lid to allow airflow while preventing contaminants from entering. Over the next several days, you will need to feed your starter regularly by discarding half of it and replenishing it with fresh flour and water.
This feeding schedule typically occurs every 12 to 24 hours, depending on the ambient temperature and the activity level of your starter. As time progresses, you should notice bubbles forming on the surface and an increase in volume—signs that your starter is becoming active. The aroma will also evolve from a mild floury scent to a tangy smell reminiscent of yogurt or vinegar.
After about five to seven days of consistent feeding, your starter should be ready for baking when it doubles in size within four to six hours after feeding.
Mixing and Kneading the Dough
| Metric | Value |
|---|---|
| Time for Mixing | 10 minutes |
| Kneading Technique | Folding and pressing |
| Dough Temperature | Room temperature |
| Consistency | Smooth and elastic |
Once your sourdough starter is active and bubbly, it’s time to mix your dough. Begin by measuring out your ingredients: typically around 500 grams of bread flour, 350 grams of water (at room temperature), 100 grams of active sourdough starter, and 10 grams of salt. In a large mixing bowl, combine the flour and water first, mixing until no dry flour remains.
This initial mixture is known as autolyse; it allows the flour to hydrate fully and begins gluten development without the interference of salt. After about 30 minutes of resting, add your active sourdough starter and salt to the dough mixture. Mix thoroughly until everything is well incorporated; this can be done by hand or with a stand mixer fitted with a dough hook.
Once combined, it’s time to knead the dough. Kneading develops gluten strength and elasticity, which are crucial for achieving a good rise in your bread. You can knead by hand on a lightly floured surface for about 10-15 minutes or use a stand mixer on low speed for approximately 5-7 minutes until the dough becomes smooth and elastic.
Proofing and Shaping the Loaf
After kneading, it’s essential to allow your dough to proof or rise. This step is critical for developing flavor and texture in your sourdough bread. Transfer your dough into a lightly greased bowl and cover it with a damp cloth or plastic wrap to prevent it from drying out.
The first rise typically lasts between 4 to 6 hours at room temperature or can be extended overnight in the refrigerator for a slower fermentation process that enhances flavor complexity. Once the dough has doubled in size, it’s time to shape it into a loaf. Gently turn it out onto a lightly floured surface without deflating it too much.
Using a bench scraper, divide the dough into two equal portions if you plan to make two loaves. Pre-shape each portion into a round by folding the edges toward the center and then flipping it seam-side down. Allow these rounds to rest for about 20-30 minutes under a cloth; this resting period relaxes the gluten strands, making final shaping easier.
For final shaping, take each round and stretch it gently into an oval or rectangle shape before folding it into itself again to create tension on the surface. Place each shaped loaf seam-side up into a proofing basket lined with flour or directly into a well-floured bowl for its final rise. Cover again and let them proof for another 2-4 hours at room temperature or overnight in the refrigerator if you prefer baking them later.
Baking the Bread
Baking sourdough bread requires careful attention to temperature and timing to achieve that perfect crust and crumb structure. Preheat your oven to 450°F (232°C) at least 30 minutes before you plan to bake. If you’re using a Dutch oven, place it inside during preheating so that it becomes hot enough to create steam when you introduce your dough.
When ready to bake, carefully remove the hot Dutch oven from the oven using oven mitts—be cautious as it will be extremely hot! Gently invert your proofed loaf onto parchment paper or directly into the Dutch oven if you’re not using parchment. Scoring the top of your loaf with a sharp blade or lame allows for controlled expansion during baking while also adding an artistic touch to your bread’s appearance.
Cover the Dutch oven with its lid and place it back in the oven for about 30 minutes. This initial covered phase traps steam, which helps develop a crispy crust while allowing the bread to rise fully without forming a hard outer shell too soon. After 30 minutes, remove the lid and continue baking for an additional 15-20 minutes until the crust turns a deep golden brown color.
The internal temperature of the bread should reach around 200°F (93°C) when fully baked.
Tips for Perfect Sourdough Sandwich Bread
Achieving perfect sourdough sandwich bread involves attention to detail at every stage of the process. One key tip is to ensure that your sourdough starter is at its peak activity before using it in your dough; this means feeding it about 4-6 hours prior so that it’s bubbly and has doubled in size. Additionally, maintaining consistent temperatures during fermentation can significantly affect your results; warmer environments speed up fermentation while cooler ones slow it down.
Another important aspect is hydration levels; adjusting water content can lead to different textures in your bread. For sandwich bread, aiming for a slightly lower hydration level (around 65-70%) can yield a more manageable dough that holds its shape better when sliced thinly for sandwiches. Experimenting with different types of flour can also enhance flavor; incorporating small amounts of whole wheat or rye flour can add depth without compromising structure.
Finally, practice makes perfect when it comes to shaping techniques; developing tension on the surface of your loaf will help create an airy crumb structure while ensuring that your bread rises beautifully in the oven. Don’t hesitate to experiment with different scoring patterns as well—this not only allows for artistic expression but also influences how your bread expands during baking.
Serving and Storing the Bread
Once your sourdough sandwich bread has cooled completely on a wire rack after baking, it’s ready to be enjoyed! Sourdough’s unique flavor profile makes it versatile for various uses—from classic sandwiches filled with deli meats and cheeses to toast topped with avocado or nut butter for breakfast. The tangy notes complement both savory and sweet toppings alike, making it an excellent choice for any meal.
When it comes to storing your freshly baked sourdough bread, proper techniques can help maintain its quality over time. For short-term storage (up to three days), keep your bread wrapped in a clean kitchen towel at room temperature; this allows it to breathe while preventing excessive moisture loss that could lead to staleness. If you wish to store it longer, consider slicing the loaf and placing individual pieces in an airtight bag before freezing them; this way, you can enjoy fresh-tasting sourdough whenever you desire without compromising texture or flavor.
In conclusion, making sourdough sandwich bread is an enriching experience that combines culinary skill with scientific principles of fermentation. By understanding each step—from creating an active starter to mastering kneading techniques—you can produce loaves that not only satisfy your taste buds but also connect you with centuries of baking tradition.
FAQs
What is sourdough bread?
Sourdough bread is a type of bread made from naturally fermented dough using wild yeast and lactobacilli bacteria. This fermentation process gives sourdough bread its characteristic tangy flavor and chewy texture.
What is a sourdough sandwich bread?
Sourdough sandwich bread is a type of sourdough bread that is specifically designed for making sandwiches. It is typically softer and more sliceable than traditional sourdough bread, making it ideal for sandwiches.
What are the ingredients for a sourdough sandwich bread?
The ingredients for a sourdough sandwich bread typically include sourdough starter, flour, water, salt, and sometimes a small amount of sugar and fat such as butter or oil.
How is sourdough sandwich bread made?
To make sourdough sandwich bread, the sourdough starter is mixed with flour, water, salt, and any additional ingredients. The dough is then kneaded, allowed to rise, shaped into a loaf, and baked in the oven.
What are the benefits of using sourdough for sandwich bread?
Sourdough bread has several benefits, including improved digestibility, a lower glycemic index, and a longer shelf life compared to bread made with commercial yeast. It also has a unique flavor and texture that many people enjoy.
Can I make sourdough sandwich bread at home?
Yes, sourdough sandwich bread can be made at home with the right ingredients, equipment, and a bit of patience. There are many recipes and tutorials available online to guide you through the process.