
Butter Braid is not just a pastry; it’s a delightful experience that brings warmth and joy to any gathering. Originating from the heart of the Midwest, this sweet, braided bread has captured the hearts and taste buds of many. Its flaky, buttery layers and rich fillings make it a perfect treat for breakfast, brunch, or even dessert.
As you embark on the journey of creating your own Butter Braid, you’ll discover that it’s not merely about the end product but also about the process of crafting something beautiful and delicious. The beauty of Butter Braid lies in its versatility. Whether you’re preparing it for a family celebration, a holiday feast, or simply as a weekend indulgence, this pastry can be tailored to suit any occasion.
The act of braiding the dough is not only a culinary technique but also a form of art that allows you to express your creativity. As you delve into the world of Butter Braid, you’ll find that each step is an opportunity to connect with the ingredients and the tradition behind this beloved treat.
Summary
- Butter Braid is a delicious and flaky pastry that is perfect for breakfast or dessert.
- The key ingredients for Butter Braid include flour, butter, sugar, yeast, and milk.
- Making the dough for Butter Braid involves mixing the ingredients, kneading the dough, and allowing it to rise.
- Filling options for Butter Braid can include fruit, chocolate, nuts, or a sweet cream cheese filling.
- Braiding and baking the Butter Braid involves rolling out the dough, adding the filling, and braiding the pastry before baking until golden brown.
- Glazing and serving the Butter Braid with a sweet icing or powdered sugar adds the perfect finishing touch.
- Tips for a perfect Butter Braid include using cold ingredients, allowing the dough to rise properly, and not overfilling the pastry.
- Variations and customisation for Butter Braid can include experimenting with different fillings, shapes, and glazes to create unique and delicious pastries.
Ingredients for Butter Braid
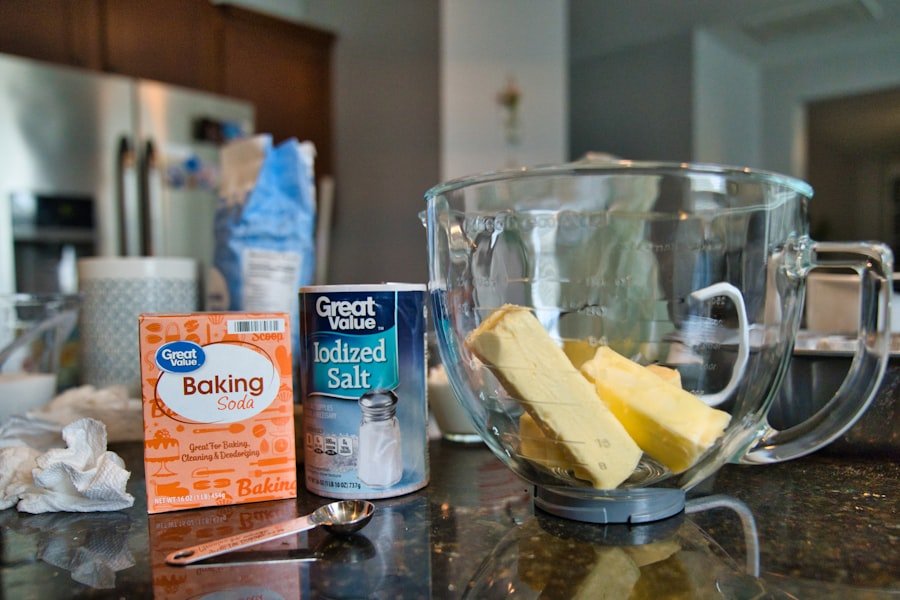
The Importance of Quality Ingredients
The flour provides structure, whilst the yeast is responsible for the delightful rise that gives the braid its airy quality. Sugar adds sweetness, and salt enhances the overall taste, creating a harmonious balance. Milk and eggs contribute to the richness of the dough, ensuring that every bite is moist and satisfying.
The Role of Butter in Elevating the Pastry
However, it’s the butter that truly elevates this pastry. Using real butter instead of margarine or substitutes will yield a richer flavour and a flakier texture. When you combine these ingredients with care and attention, you set the stage for a Butter Braid that will impress anyone fortunate enough to taste it.
Creating a Truly Exceptional Butter Braid
By using high-quality ingredients and combining them with care, you’ll be able to create a Butter Braid that’s truly exceptional. With its perfect texture and flavour, it’s sure to be a hit with anyone who tries it.
Making the Dough for Butter Braid
Creating the dough for your Butter Braid is an essential step that requires patience and precision. Begin by activating your yeast in warm milk with a touch of sugar; this will awaken the yeast and prepare it for its role in leavening the dough. Once it becomes frothy, combine it with your dry ingredients—flour, sugar, and salt—in a large mixing bowl.
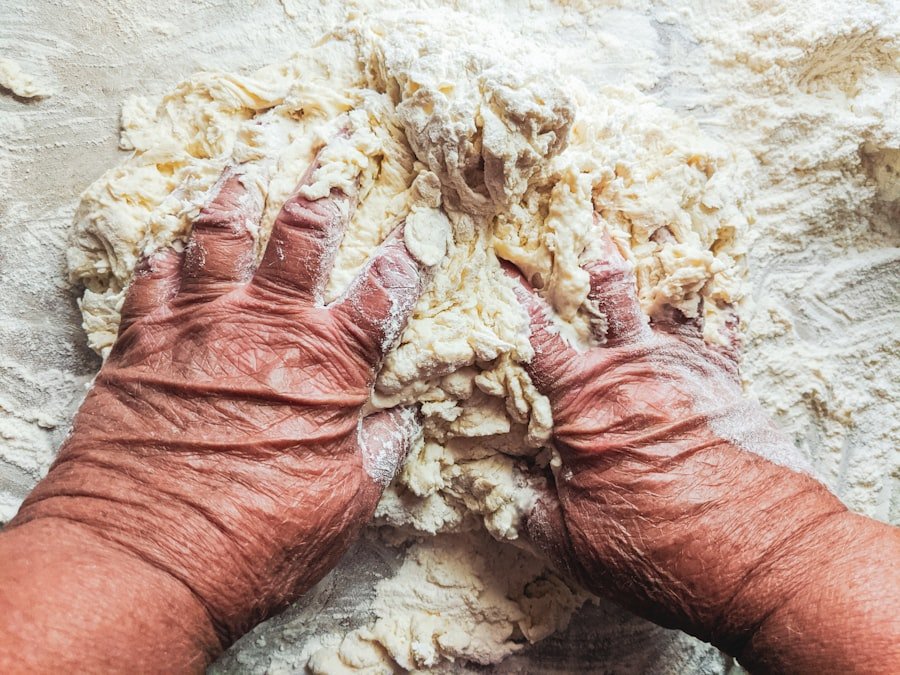
As you mix these components together, you’ll start to see the dough come together. Kneading is where the magic happens. You’ll want to knead the dough until it becomes smooth and elastic, which usually takes about 8 to 10 minutes.
This process develops the gluten structure, giving your braid its characteristic chewiness. After kneading, allow the dough to rise in a warm place until it doubles in size. This first rise is crucial; it’s during this time that the yeast works its wonders, creating air pockets that will make your Butter Braid light and fluffy.
Filling Options for Butter Braid
| Filling Option | Description |
|---|---|
| Apple | Sweet and fruity filling made with real apples |
| Cream Cheese | Rich and creamy filling with a hint of sweetness |
| Cinnamon | Warm and aromatic filling with a touch of spice |
| Raspberry | Tangy and sweet filling made with real raspberries |
One of the most exciting aspects of making Butter Braid is choosing your filling. The possibilities are nearly endless, allowing you to tailor your creation to your personal preferences or seasonal ingredients. Traditional options include cinnamon and sugar for a classic flavour reminiscent of cinnamon rolls or fruit fillings like raspberry or apple for a refreshing twist.
Each filling brings its unique character to the braid, enhancing its overall appeal. If you’re feeling adventurous, consider experimenting with more unconventional fillings such as chocolate hazelnut spread or cream cheese mixed with lemon zest for a tangy kick. You can also incorporate nuts or dried fruits to add texture and depth to your braid.
The key is to strike a balance between sweetness and richness while ensuring that your filling complements the buttery dough rather than overpowering it.
Braiding and Baking the Butter Braid
Once your dough has risen and your filling is prepared, it’s time to assemble your Butter Braid. Start by rolling out the dough into a rectangle on a lightly floured surface. Cut slits along both sides of the rectangle, leaving the centre intact for your filling.
Spread your chosen filling down the centre of the dough before folding over the slits in a crisscross pattern to create that signature braid look. Baking your Butter Braid is where all your hard work pays off. Preheat your oven to the recommended temperature and place your braided masterpiece on a baking tray lined with parchment paper.
As it bakes, your kitchen will fill with an irresistible aroma that will have everyone eagerly anticipating its arrival at the table. The golden-brown crust will be an inviting sight when you finally take it out of the oven, signalling that it’s time to enjoy your creation.
Glazing and Serving the Butter Braid
The Perfect Glaze
A simple mixture of icing sugar and milk can create a sweet drizzle that enhances both appearance and flavour. You can also infuse your glaze with vanilla extract or citrus zest for an extra layer of complexity.
A Show-Stopping Presentation
Drizzling this glaze over your braid not only adds sweetness but also gives it an appealing sheen that makes it look even more enticing. When it comes time to serve your Butter Braid, consider slicing it into generous portions that showcase its beautiful layers and filling. Pairing it with fresh fruit or a dollop of whipped cream can turn this treat into an indulgent dessert or an impressive brunch offering.
Creating Lasting Memories
As you share this delightful pastry with friends and family, you’ll create lasting memories around the table—after all, food has a unique way of bringing people together.
Tips for a Perfect Butter Braid
Achieving perfection in your Butter Braid may require some practice, but there are several tips that can help you along the way. First and foremost, ensure that all your ingredients are at room temperature before you begin; this will help them combine more easily and create a smoother dough. Additionally, don’t rush through the rising times; allowing your dough to rise adequately is crucial for achieving that light texture.
When braiding, take care not to stretch the dough too much; gentle handling will preserve its structure and prevent tearing. If you find that your dough is too sticky while rolling out, sprinkle a little extra flour on your work surface to make handling easier. Finally, keep an eye on your braid as it bakes; ovens can vary in temperature, so checking for that golden-brown colour will help ensure you don’t overbake or underbake your creation.
Variations and Customisation for Butter Braid
The beauty of Butter Braid lies in its adaptability; once you’ve mastered the basic recipe, feel free to explore various variations and customisations. For instance, consider adding spices like nutmeg or cardamom to your dough for an aromatic twist. You might also experiment with different types of flour—such as whole wheat or gluten-free alternatives—to cater to dietary preferences while still enjoying this delightful treat.
Seasonal ingredients can also inspire new fillings; think pumpkin spice in autumn or fresh berries in summer. You could even create themed braids for holidays by incorporating festive flavours like peppermint or eggnog during winter celebrations. The possibilities are limited only by your imagination, making Butter Braid not just a recipe but an ongoing culinary adventure that invites creativity and experimentation.
In conclusion, making Butter Braid is more than just baking; it’s about creating something special that can be shared with loved ones. With each step—from selecting quality ingredients to braiding and glazing—you’re crafting not just a pastry but also memories that will linger long after the last bite has been savoured. So roll up your sleeves and embrace this delightful journey; you’ll find that every effort is worth it when you see smiles light up around the table as everyone enjoys your homemade creation.